
My Journey in Pottery: Centering Clay Like a Pro

Updated: Aug 11
The First Day in the Studio
We have all been there. Starting something new can be daunting. Your first day on the job, freshman year at college—those emotions can be overwhelming.
It's crucial to keep things in perspective during these moments. For the past three decades, my daily time in prayer and meditation has kept my priorities lined up.
Now, let’s talk about your first day in a pottery studio. That teacher who made it all look so easy? Then it was your turn to try those same steps.
I remember my first time on the wheel. I had built up so much expectation after years of trying to get back to where my art talent belonged. You see, I quit college right as I was taking my first pottery class. Now, 17 years later, I was finally where I wanted to be... at the pottery wheel.
I enrolled in a class at Cornell University's auxiliary studio. I got my clay and tools and set up my wheel. I watched my teacher, Diane Sullivan (Diane Sullivan Design), and she made it look so easy. I was even more excited to try it!
Then reality hit me like a blast of freezing cold air. I tried; I really did.
I am not one to easily ask for help. As I struggled, I looked around the classroom. Other people were succeeding, which only deepened my frustration. Surely, I could get this.
I like to think I am fairly competent in the art realm.
Before the tears burst out, I called Diane over and explained my dilemma. Like a good teacher, she instructed me to go through the motions as she observed. She offered a few tips, but they didn’t help much. So, she asked to sit at my seat and give it a go.
“Sure! Yes! Please, show me what I am not doing or what I need to change.” She sat at my wheel, and I will never forget the words she loudly proclaimed as she struggled to center the lump of clay.
“This clay is rock hard! Go get a new bag.”
Those two sentences brought such relief and a big smile to my face. Though my centering skills still needed a lot of practice, I was now on my way.
Can you relate?
Understanding Centering
There are so many subtle moves that can make or break the centering process. I will confess that I hardly ever weigh my clay, and my wedging is minimal, but centering? I got this!
When I teach, after my tutorial demo, I quietly watch my students. I have been known to throw corrective tips their way. I love seeing them succeed. I am not that teacher who lets a student work it out on their own. The potter's wheel is a place that is easy to give up on.
Just like life, if you don't stay centered, things can go off track early. Centering is the foundation of any good pot. It's equally important for everyday tasks in this topsy-turvy world we live in. (Proverbs 3:5-6)
Key Points for Centering Clay
Here are the key points I have learned about centering the clay:
1. Positioning at the Wheel
Make sure you are properly positioned at your wheel. I like to use adjustable stools so I can raise one side higher. This puts me at an angle to the wheel (short legs forward) where my back is naturally straighter. I also want my wheel to be close to my knee height. I add bricks to raise the wheel as well.
2. Tossing the Clay
Give a good, strong toss of the ball of clay onto the wheel. If it is stuck well but off-center, I just twist the mound of clay into the center. I don't remove it. NO WATER YET.
3. Slap Centering
I then slap center the clay into a cone shape. I use two hands and a slow wheel speed, keeping my slapping rhythmic. I do this until I see a pretty smooth cone. STILL NO WATER YET.
4. Adding Water
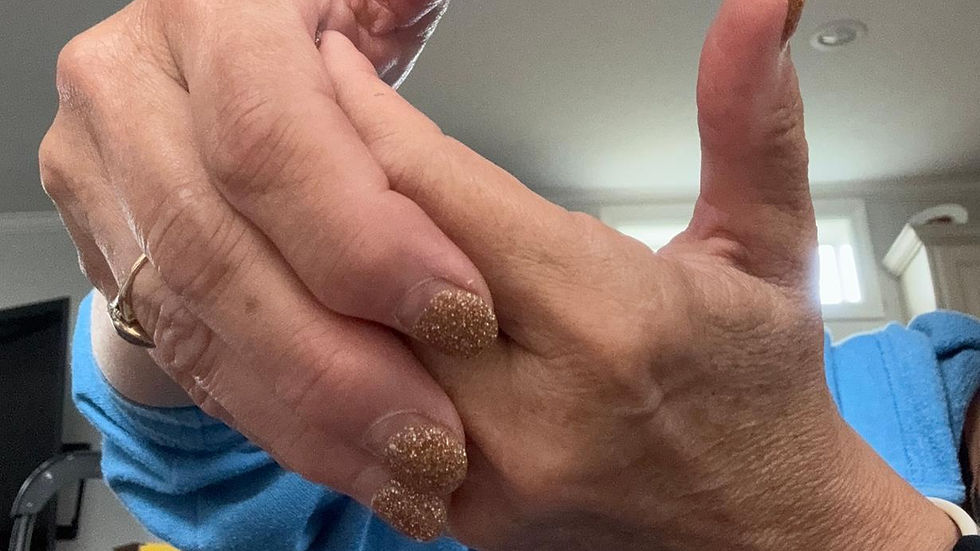
Now I add water, speed up the wheel to medium fast, and with my elbows grounded into my thighs, I lean forward. I overlap my fingers to encircle the clay at the base and press or squeeze my palms toward each other. Then I carry the clay upwards.
5. Bringing It Back Down
The next step is to bring it back down. It’s important to understand a basic principle of physics here. The very center of your wheel and the center of the ball of clay is where the ease of power occurs. My left hand is my side hand, and my right hand fluctuates from dead center on top to a slightly curved blade of my palm on the side of the top.
If your elbows are anchored correctly, your upper body leaning forward should provide all the leverage you need to increase pressure. Sometimes I lean way close to the wheel if the clay is stiff. Avoid strong-arming the clay; it stresses your shoulders and neck.
6. Observing the Clay
Observe your lump of clay as you center. If the clay shimmies side to side, you need more pressure from your left hand. If it is uneven on the top, it needs more pressure from your right hand. The goal is to have equal pressure from both hands, but an air bubble or stiff spot can throw you off.
7. Avoid Jerking Movements
A very common mistake is to jerk your hands as you approach or let go of the clay. This will un-center your clay every time and undo your hard work. I usually take a breath and release the pressure before I remove my hands. Gentle on, gentle off.
8. Opening the Hole
The next biggest issue is opening the hole. Take your time. You must be exactly in the middle when you start, or the wall thickness will be uneven. This usually remains that way throughout throwing. You can correct this by bracing the inner and outer walls with your left-hand fingers on the inside of the pot and your left thumb on the outside. Then push down on the top of the rim with your right hand. You can use either your index finger or a sponge to do this. Be sure to get several wheel revolutions in before going to the next step. Overall, it’s better to get it right the first time.
9. Pulling the Walls
When you pull the walls, stay at the rim for several revolutions of the wheel. People often release the pot too soon. Be gentle at the rim. Recognize a thinner or thicker spot in the wall and know when to apply more pressure (thick) or use less pressure (thin). You can also throw down the clay wall to move clay back down into a thin spot. Start at the top and move the clay toward the wheel head.
10. Correcting Problems Early
The sooner you correct a problem, the easier it is to throw and make a good pot.
This is by no means an exhaustive list. I love to observe my students, then I can assess exactly what they need to do to correct their course! Hopefully, your teacher does the same.
If only other life issues could be corrected so easily!
Blessings,
Charlene
Here is a quick video to see some of what I am saying.


Comments